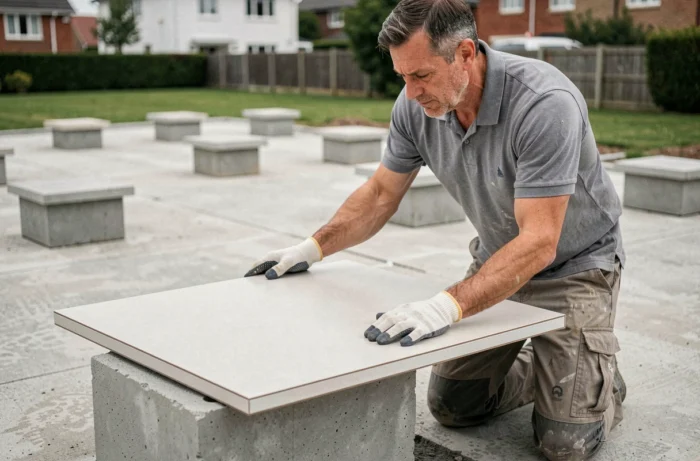
On a raw concrete slab that has depressions or a poorly oriented slope, adjustable pedestals do not compensate at all. You lay the slabs, shim them, readjust, and six months later the joints gape or a tile tips underfoot. The problem almost never comes from the 2 cm tiles themselves, nor from the pedestals: it comes from the support that was neglected before starting.
Flatness and slope of the concrete slab: what conditions the entire project
Before touching a single pedestal, two parameters on the supporting slab must be checked. The first is the flatness of the support, which must not exceed 5 mm per meter. Beyond that, the adjustable pedestals poorly compensate for the discrepancies, and the ceramic slab rests on two supports instead of four. You end up with a tiling that sounds hollow and breaks under a point load.
The second parameter is the slope. A concrete slab intended to receive pedestals must have a slope between 1.5 and 2% to drain rainwater. This slope is not there for the surface slabs (they are laid level thanks to the adjustable pedestals), but to drain the water that seeps under the tiling.
You can check the flatness with a 2 m ruler and a shim. For the slope, a laser level or a simple bubble level on a long ruler is sufficient. If the concrete slab does not meet these thresholds, it is better to redo the support with an appropriate external leveling compound rather than compensate with the pedestals.
To fully understand the technical rules before getting started, you can install 2 cm tiles on concrete pedestals with iDéco Maison by following a structured guide that details each requirement of the support.
Water stagnation under the pedestals: the disorder discovered too late
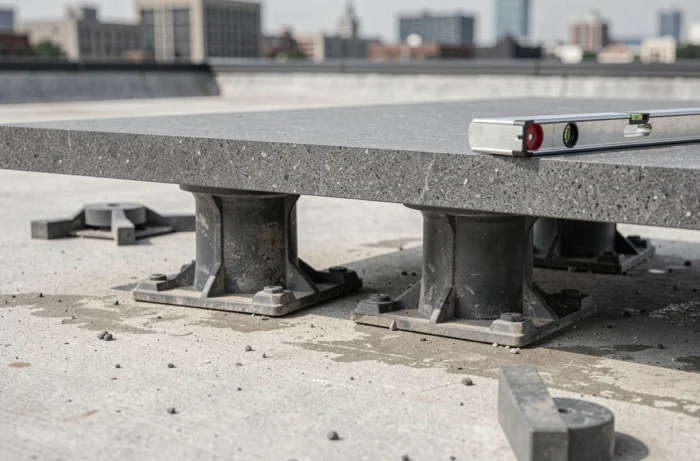
Installation guides highlight the natural ventilation under the ceramic slabs and the facilitated drainage. On paper, air circulates, water drains away. In practice, recent feedback shows that water can stagnate under the pedestals and accelerate the degradation of the concrete slab, especially in regions exposed to frost.
The mechanism is simple. Rainwater passes through the open joints between the slabs, accumulates in the depressions of the concrete support (even minimal ones), and does not drain away if the slope is insufficient or if debris blocks the peripheral drainage points. In winter, freeze-thaw cycles progressively crack the concrete under the pedestals.
Accessible drainage points: a precaution often forgotten
Cleaning access is planned around the terrace perimeter. Specifically, a sufficient space is left between the last row of slabs and the wall or edge to allow for a water jet or to vacuum up accumulated leaves. If the terrace is against a façade wall, a gutter or a collection grid at the foot of the wall prevents water from stagnating against the structure.
Feedback varies on this point, but several professionals recommend removing a few slabs once a year to inspect the condition of the support and clean the low areas. With a pedestal system, the operation takes just a few minutes since the slabs are neither glued nor grouted.
2 cm tiles on pedestals above a living space: the constraints of DTU 43.1
When the terrace overlooks a living space (living room, converted garage, garden-level bedroom), the regulatory framework changes completely. The structure is then classified as an accessible roof terrace, and the prescriptions of NF DTU 43.1 apply.
The main difference concerns waterproofing. On a concrete slab on the ground, a good slope and properly mixed concrete are sufficient. Above a living space, a complete waterproofing membrane is required with waterproofing upstands of at least 15 cm at the perimeter and at each emergence point (door threshold, drainage, post).
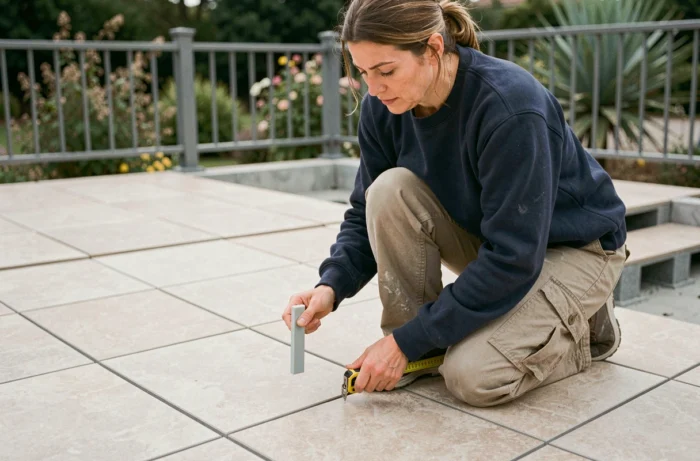
This point is rarely addressed in public pedestal installation tutorials, but it conditions the ten-year guarantee. A craftsman who installs ceramic slabs on pedestals above a habitable room without complying with DTU 43.1 takes on liability, and the damage insurance may refuse coverage in case of a claim.
Adjustment of pedestals and tiling layout: field method
Once the support is validated, we move on to the layout. We start with a chalk line from the main door threshold, because it is the most visible area and where partial cuts are most noticeable. We align the first row of slabs along this axis, then develop the layout towards the edges.
Choice and adjustment of adjustable pedestals
The pedestals are chosen based on the height to be compensated between the concrete slab and the desired finished level. Here are the points to check before purchasing:
- The height adjustment range of the pedestal must cover the gap between the lowest and highest point of the support, including the slope.
- The heads of the pedestals must include removable spacers to manage edge slabs (half-spacer) and corners (quarter spacer).
- The load capacity of the pedestal must be suitable for the format and weight of the 2 cm ceramic slabs, which weigh significantly more than standard tiles.
Each pedestal is adjusted individually using a bubble level. The adjustment is done by screwing or unscrewing the upper part. The level is checked in both directions (length and width) on each laid slab. A gap of a few millimeters between two adjacent slabs is enough to create a lip that catches the foot.
Edge cuts and finishes
The 2 cm thick stoneware is cut with an electric tile cutter using a diamond blade suitable for thick materials. Standard blades for indoor tiles heat up too quickly and produce chipping on the edge. We cool the cut with a water stream and advance slowly.
For edge slabs that rest on only two pedestals, an additional pedestal is added under the free edge to avoid any overhang. This detail changes the perceived solidity when walking along the edge of the terrace.
Laying 2 cm tiles on concrete pedestals allows little room for error on the support, but it offers a durable result when each step is followed. The most time-efficient point remains the initial verification of the concrete slab: correcting a slope or flatness before laying costs much less than dismantling everything after a winter.